Well folks, it’s CreativePro Week again! CreativePro Week is the essential HOW-TO conference for creative professionals who design, create, or edit in Adobe InDesign, Photoshop, Illustrator, Acrobat, or Microsoft PowerPoint. It’s one of my favorite conferences to speak at, and this year I was lucky enough to present in 2 sessions.
My first presentation, AI For Designers: The Ultimate How-To Guide, was a continuation of past presentations in which I provided an overview of the AI ecosystem for designers and showed how to use various tools in a campaign workflow. For a hands on, deeper dive into that content, check out my LinkedIn Learning Course entitled Content Strategy in the Age of AI.
My second presentation, AI on the Move: Unlocking the Potential of AI in Video, covered the world of AI video generation—the tools available, common workflows, opportunities and roadblocks, and a look into the future of AI video. There was so much to cover in that session that I couldn’t get into the nitty gritty to show how I created some of the videos used throughout the presentation. So let’s discuss that here, shall we?
Throughout the presentation, I incorporated animations of a yeti to drive the narrative. I created those videos using one of my favorite AI video tools, Runway.ml. Here’s the workflow:
Step 1: Create Images of Each Scene
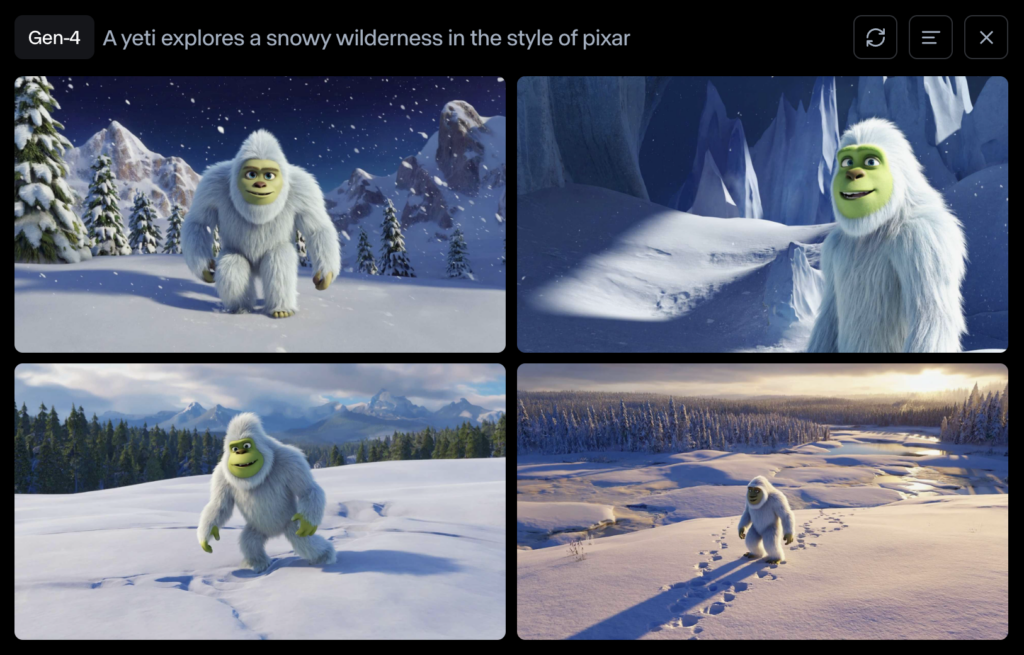
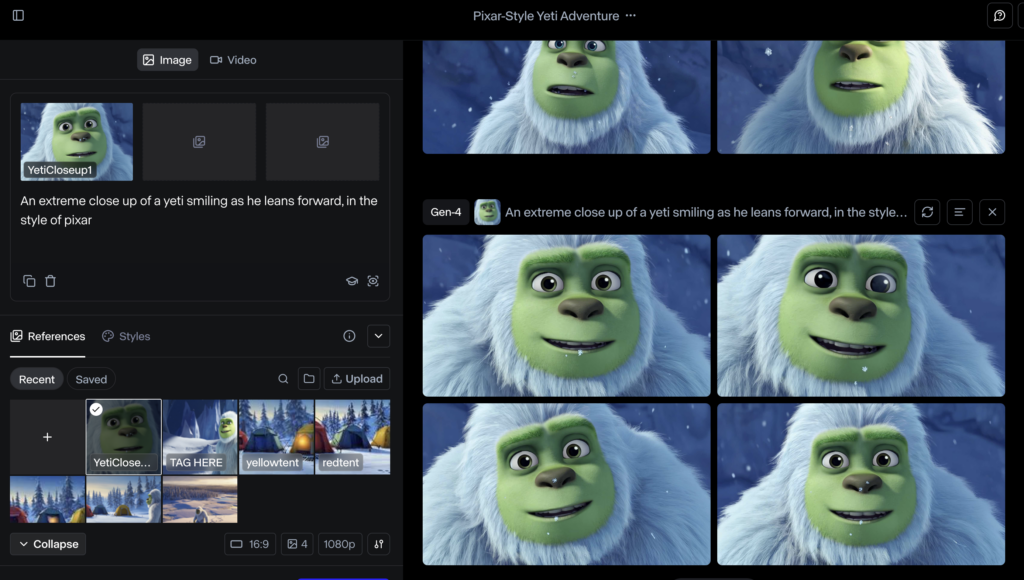
While I could have used Midjourney, Adobe’s Generative Workspace, or any other text-to-image (T2I) tool to create initial scene images, I chose to use Runway’s T2I tools since they’ve come a long way. This began with a simple prompt: A yeti explores a snowy wilderness in the style of Pixar. The 4 images created are shown below. I felt that the 4th image (lower right) best met my goals and the 2nd image (top right) would work for a close up character reference.
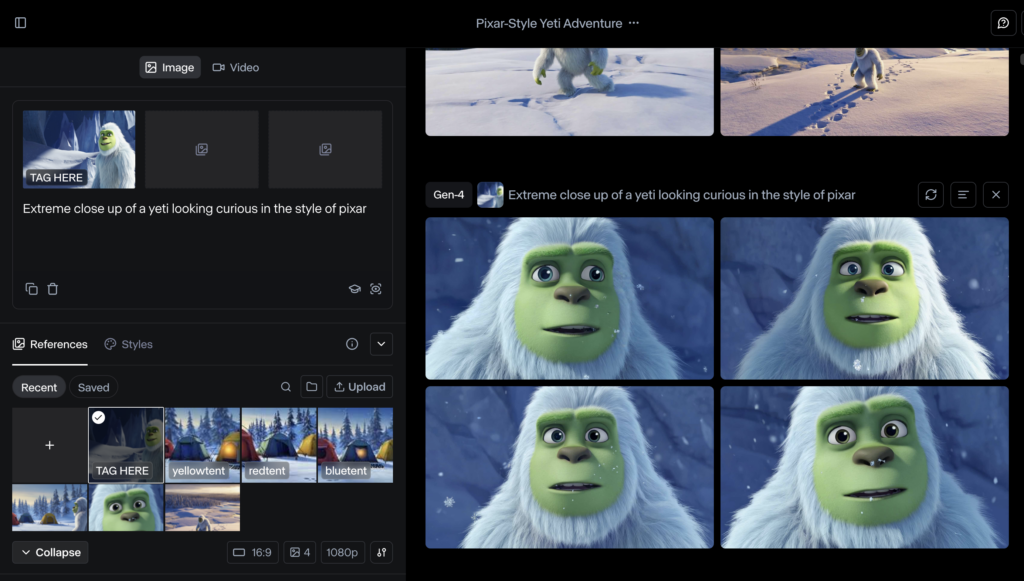
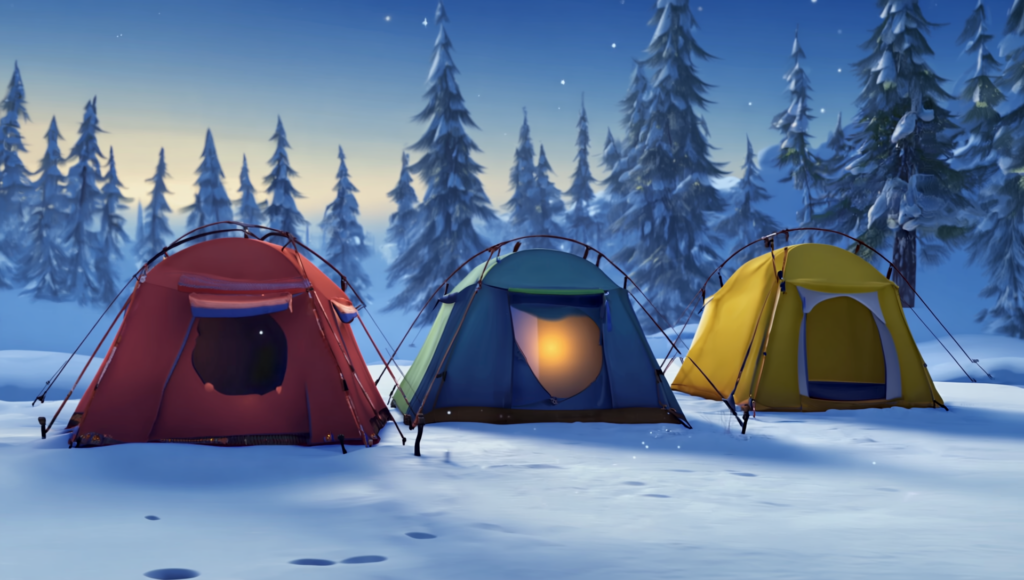
Using my character reference image, I then proceeded to create images for different frames in my animation. This was done by hovering over the chosen image and clicking the image icon that appears, which tells the AI to reference that image when considering the associated prompt.

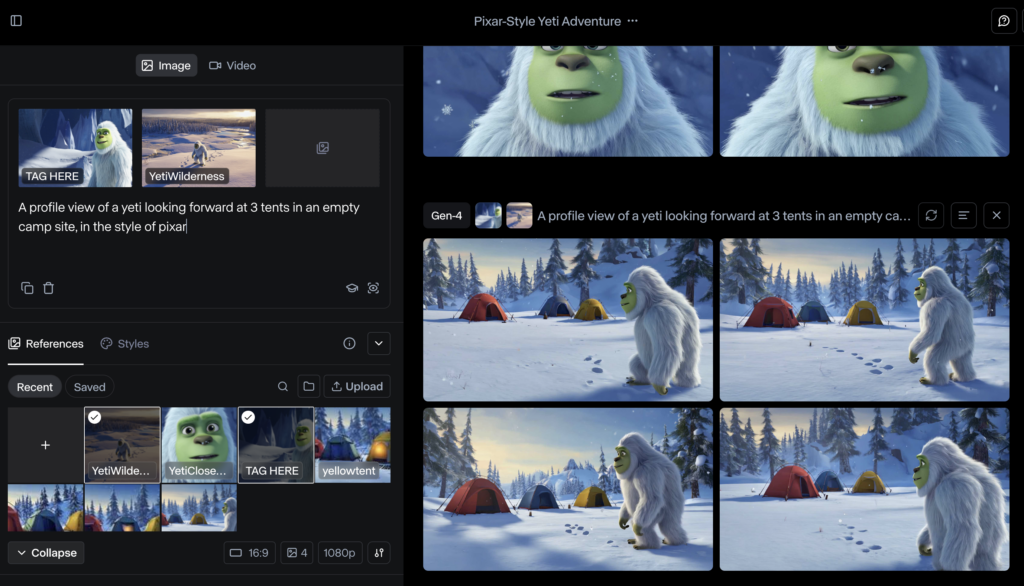
To get the best output, I experimented with using different reference images and combining multiple reference images as follows:
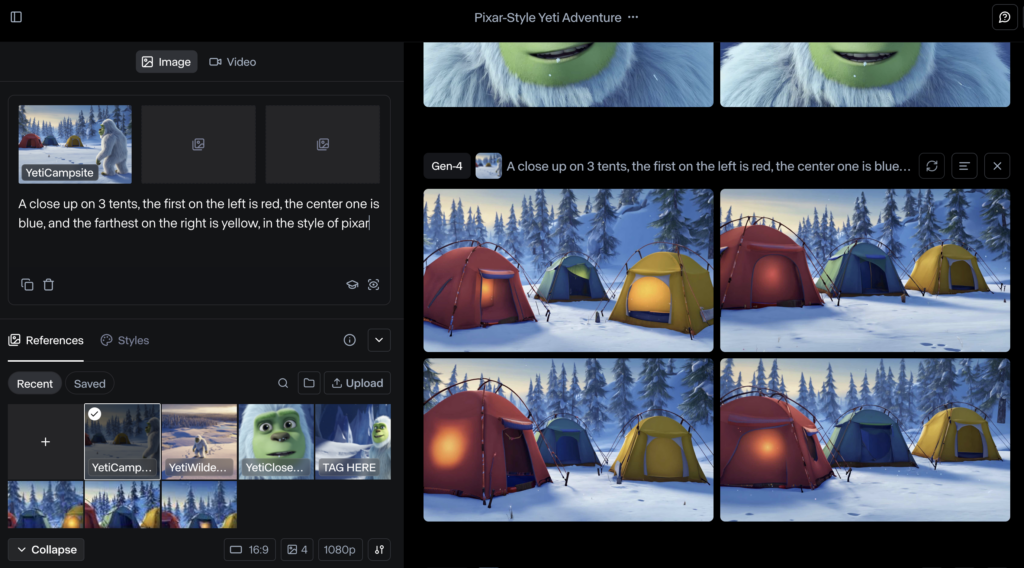
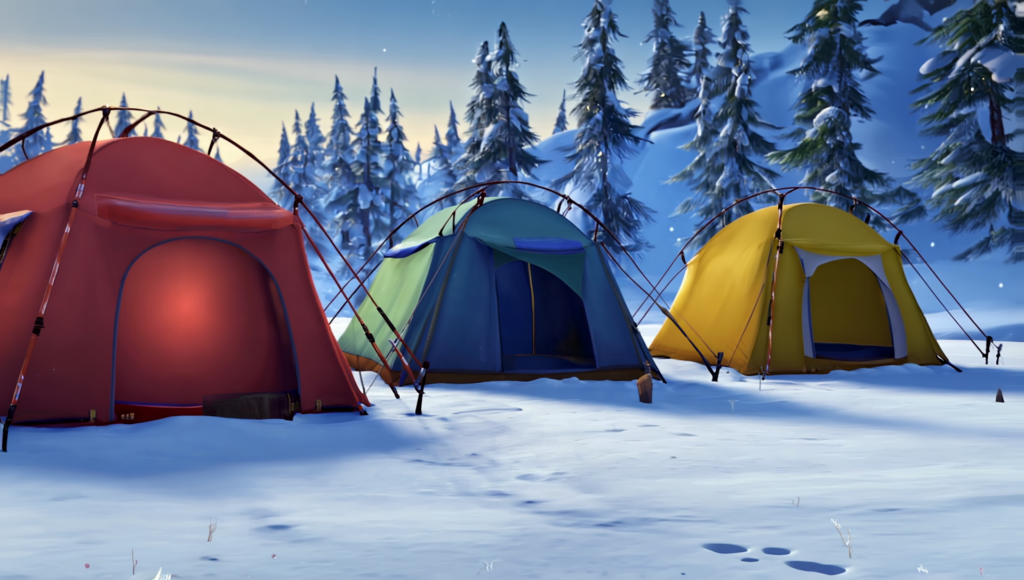
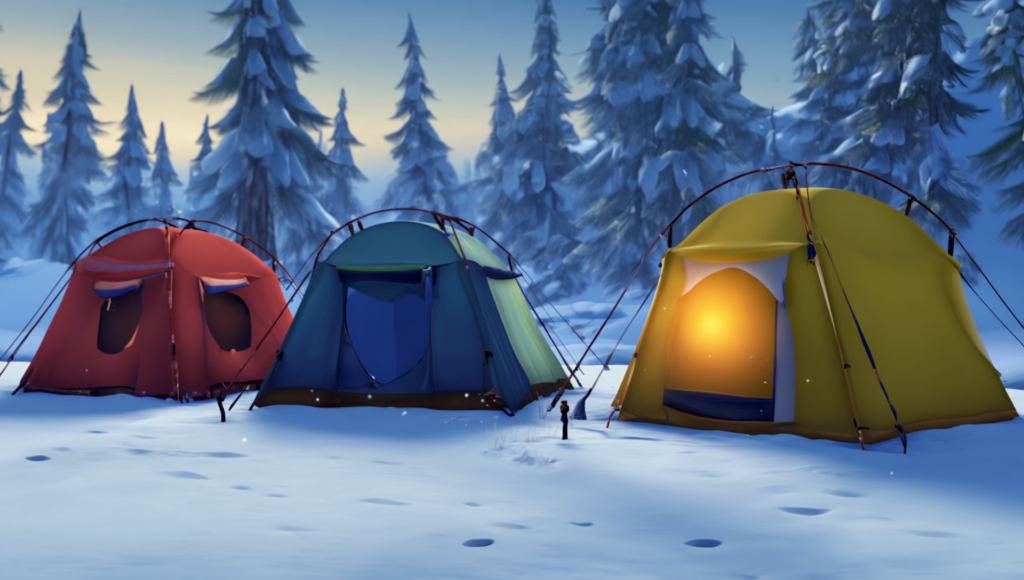
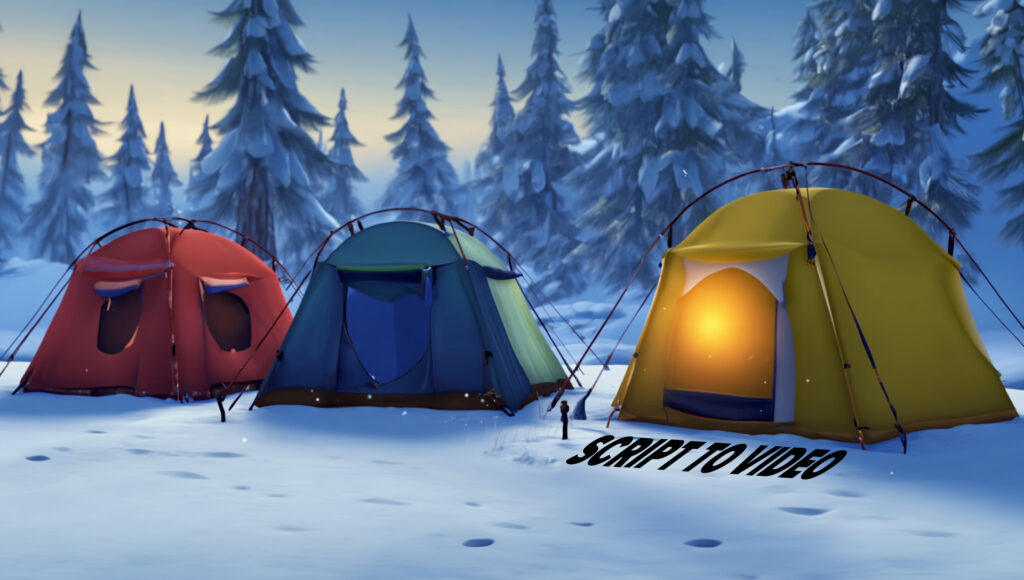
To get consistency with the 3 tents, I needed to bring images into Photoshop and use generative fill to create a similar look and feel. But it wasn’t always perfect. For example, notice how the red tent changes from image to image in the below examples:
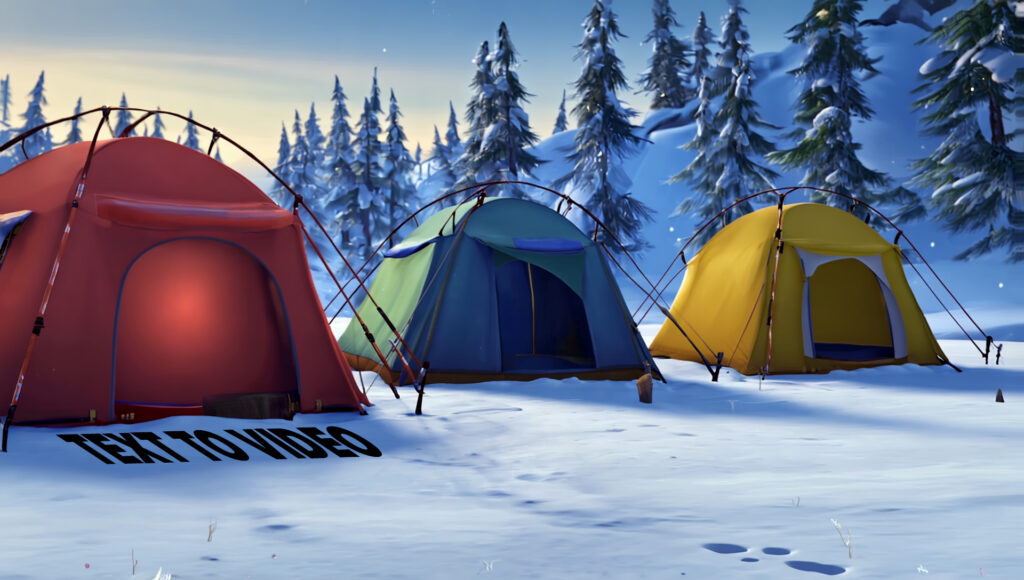
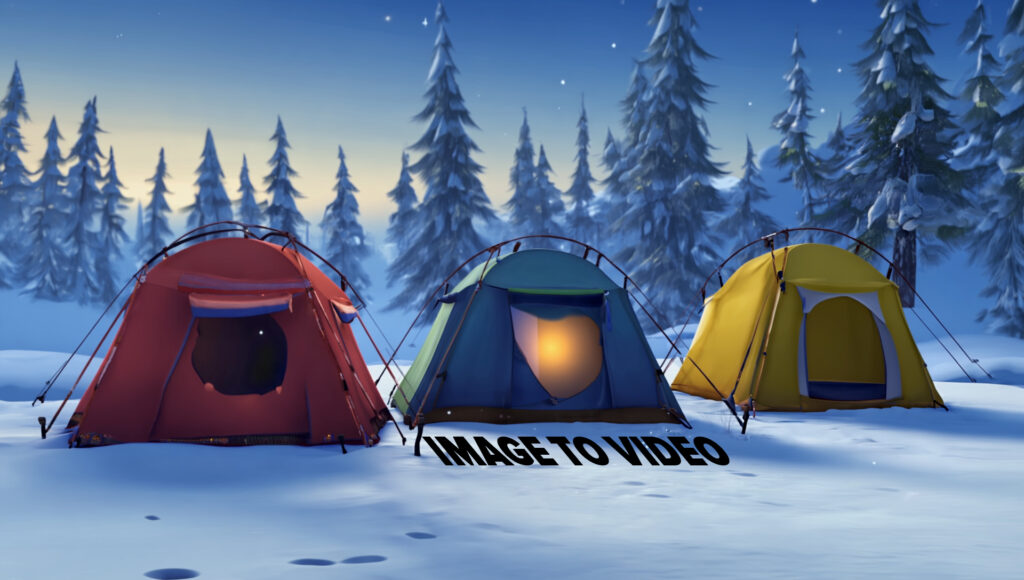
I also used Photoshop to add text, because AI tools aren’t great at incorporating text into images or animation.
Step 2: Combine Images and Prompts to Create Scenes
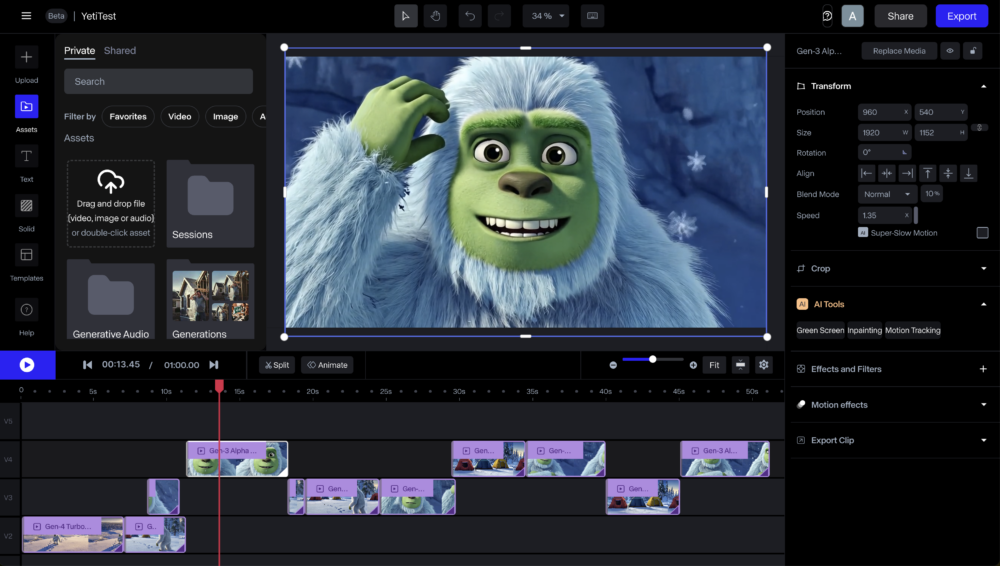
Once I had all of my images developed, the next step was to get them moving by jumping from Runway’s T2I tools into their text-to-video (T2V) options. Within Runway, there are several ways to do this, each of which you can navigate to by choosing a video generation model to start from: Gen-3 Alpha, Gen-3 Alpha Turbo, Gen-4, and Gen-4 Turbo. You can toggle between the models by simply clicking the model button on the bottom left of the screen.
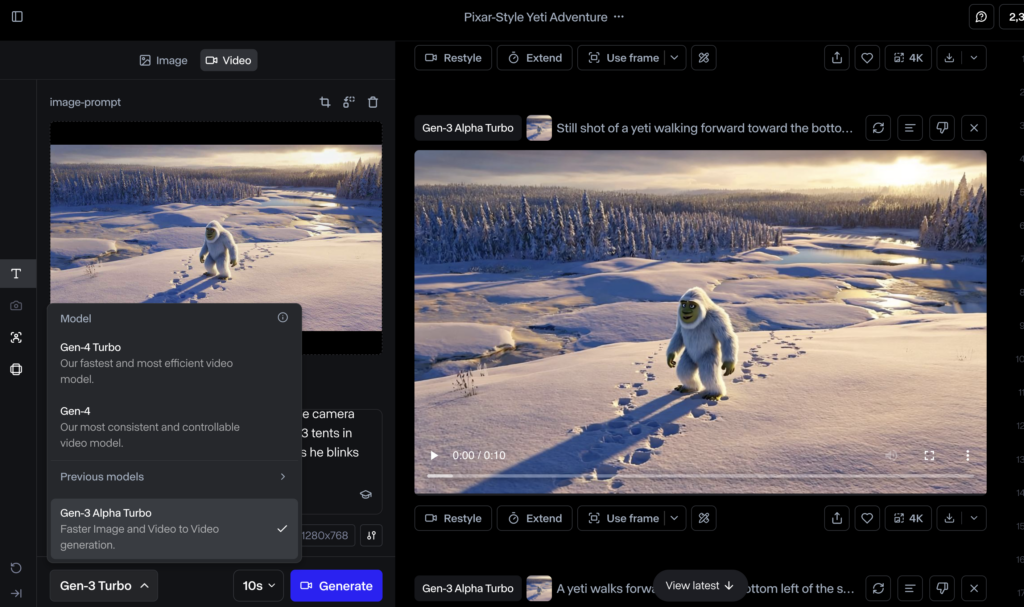
Each model differs by speed and the number of reference images you can use to inform your prompt. For example, Gen-3 Alpha lets you choose 2 reference images (a start frame and an end frame) to inform your prompt. Gen-3 Alpha Turbo lets you reference 3 images (a start frame, middle frame, and end frame). Both Gen-4 models only let you use 1 reference image, which comes in handy for close up shots.
It’s important to note that you’ll find more success when your image references follow a single scene or shot, rather than jumping between complex shots. For example, I wanted to show the yeti walking through the wilderness as she happens upon 3 abandoned tents. Here’s an example of the input and output using 3 reference images for this:


Here’s the output:
To avoid issues like this, simply create one camera shot at a time. You can use Runway’s video editor to stitch these shots together later. Here’s an example of what I mean:


Step 3: Use Runway’s Video Editor and Voiceover Tools
Once I had all of my videos, I used Runway’s AI voice generator to create the voice for our yeti. I combined that with the completed videos in Runway’s video editor to bring everything together.


Step 4: Perfect Content in Adobe Premiere
While Runway’s video editor tool is great, if you can use Premiere then I highly suggest it. Runway’s editor often lags when the video gets too long, which can cause frustration at best. In Premiere, you can edit as normal or use generative extend to extend scenes by up to 2 seconds. I also chose to use Premiere to add some music to take things up a notch.
And there you have it—the yeti Pixar animation from end-to-end using Runway’s tools (and a bit of Adobe for support). If you have questions, don’t hestiate to reach out via my contact form here.